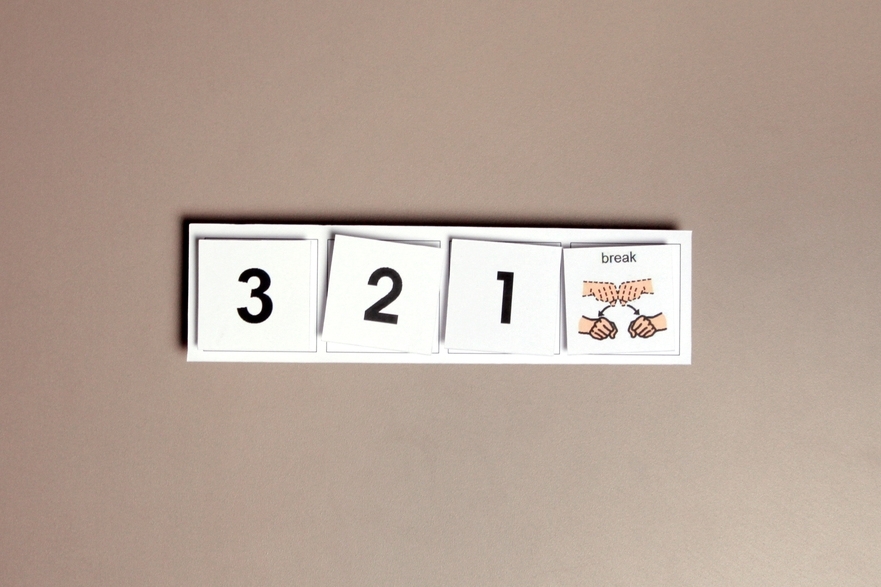
Example of a 3 task countdown
Example of a 3 task countdown
This countdown has a "break" icon.
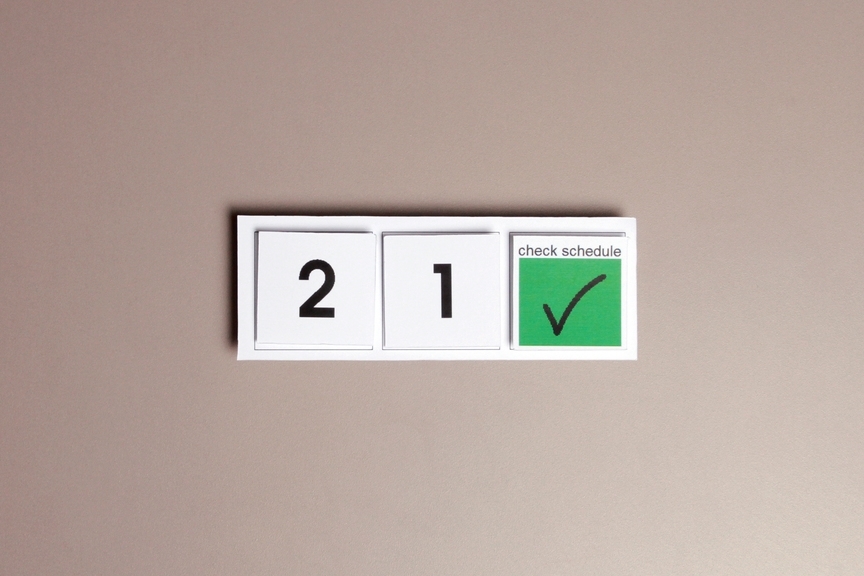
Example of a 2 task countdown
Example of a 2 task countdown
This countdown has a "check schedule" icon.
When to use:
- Use to help with transitions from one activity to another.
- No specific amount of time is shown, so the timing of the countdown is flexible and determined by the teacher. The amount of time represented through the visual may change based on student needs and the need to coordinate with other classroom activities.
- Use to subtly lessen time spent on preferred activities or work on lengthening time spent on nonpreferred activities.
How to use:
- Show the visual to the student and say some variation of, “In 5, we will put our books away”, “In 5, we will turn off the computer”. (Remember, these are not specific, named, units of time. They represent approximate intervals the teacher has in mind.)
- When appropriate, remove a visual (number, icon) and update the student as to how many intervals are left.. Repeat until each of the visuals has been removed. Make sure the student can see the countdown, as well as your act of removing each visual.
- Remove the final visual and say, “(Activity) is finished. It’s time for…”. You may include a finished card, a check schedule card, or a card for the next activity at the end.
Tips:
- If your student becomes frustrated with an activity, you might remove visuals from the countdown more quickly. This helps maintain behavioral momentum. To extend an activity, remove visuals more slowly.
- Teach this tool during a time that is not challenging for the student.
Variation:
- Use readily available resources such as whiteboards and dry erase markers, sticky notes, paper, your fingers, etc. as a visual. You can create a timer on the fly!