
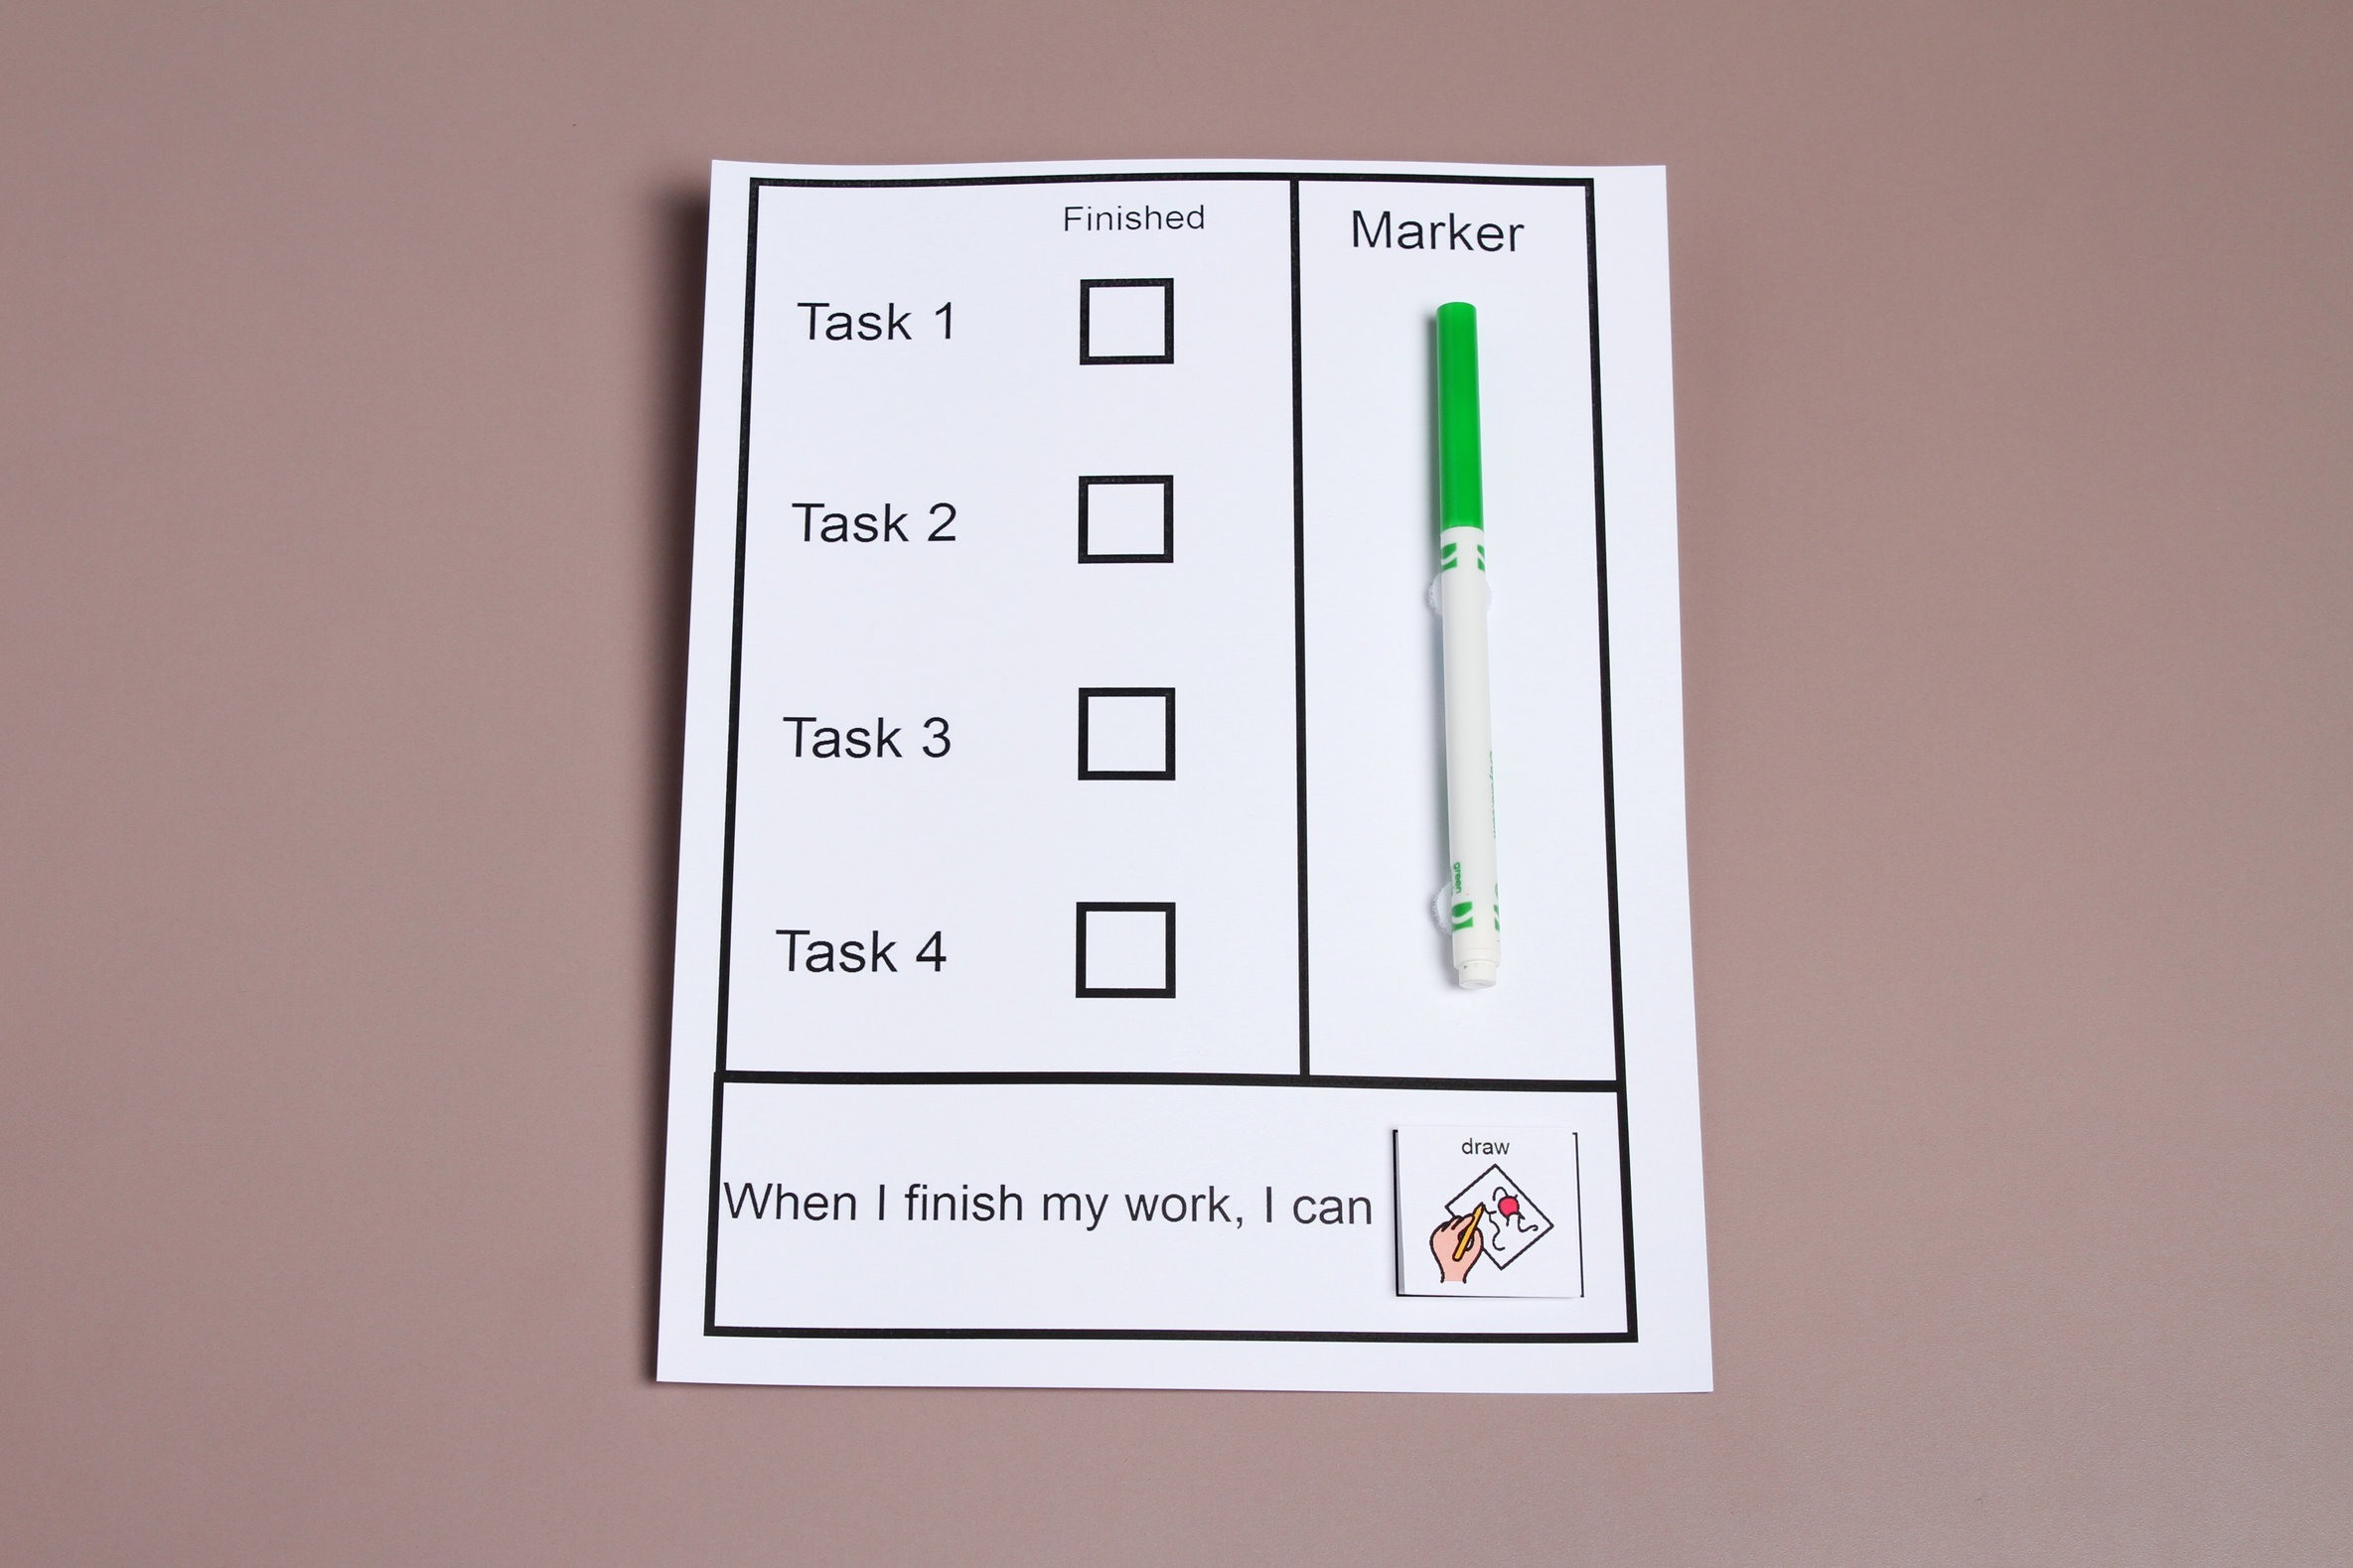
Example of a work system checklist
Example of a work system checklist
This visual helps students track and finish tasks in order.
Example of a work system checklist
Example of a work system checklist
Keep a marker on the visual and laminate it for reuse.

Example of a work station
Example of a work station
Students use the visual to stay on task in a work station.
When to use:
- Use when a student is expected to complete work independently.
Tip: The student must be working on mastered tasks. This is an opportunity for fluency, maintenance, or generalization.
How to use:
- Place START and FINISHED containers in student work area. START is on the left and FINISHED is on the right.
- Place numbered tasks in the START container.
- Place the check off task directions in the student work area. Include a writing utensil.
- Student completes tasks in order.
- Student checks off each task as it is put in the FINISHED container.
- When all of the tasks are completed, the student moves to the ‘what to do next’ activity.
Tips:
- This work system can be implemented in a general education classroom.
- The final visual (what to do next) is usually a reinforcing activity. This increases motivation to complete the tasks.
- Using the shortest or easiest task as Task 1 may help a student get started and build behavioral momentum.
Variations:
- You may use office stacking trays, folders, or accordion folders to organize materials at the student work area.