Work System 1
Work System 1
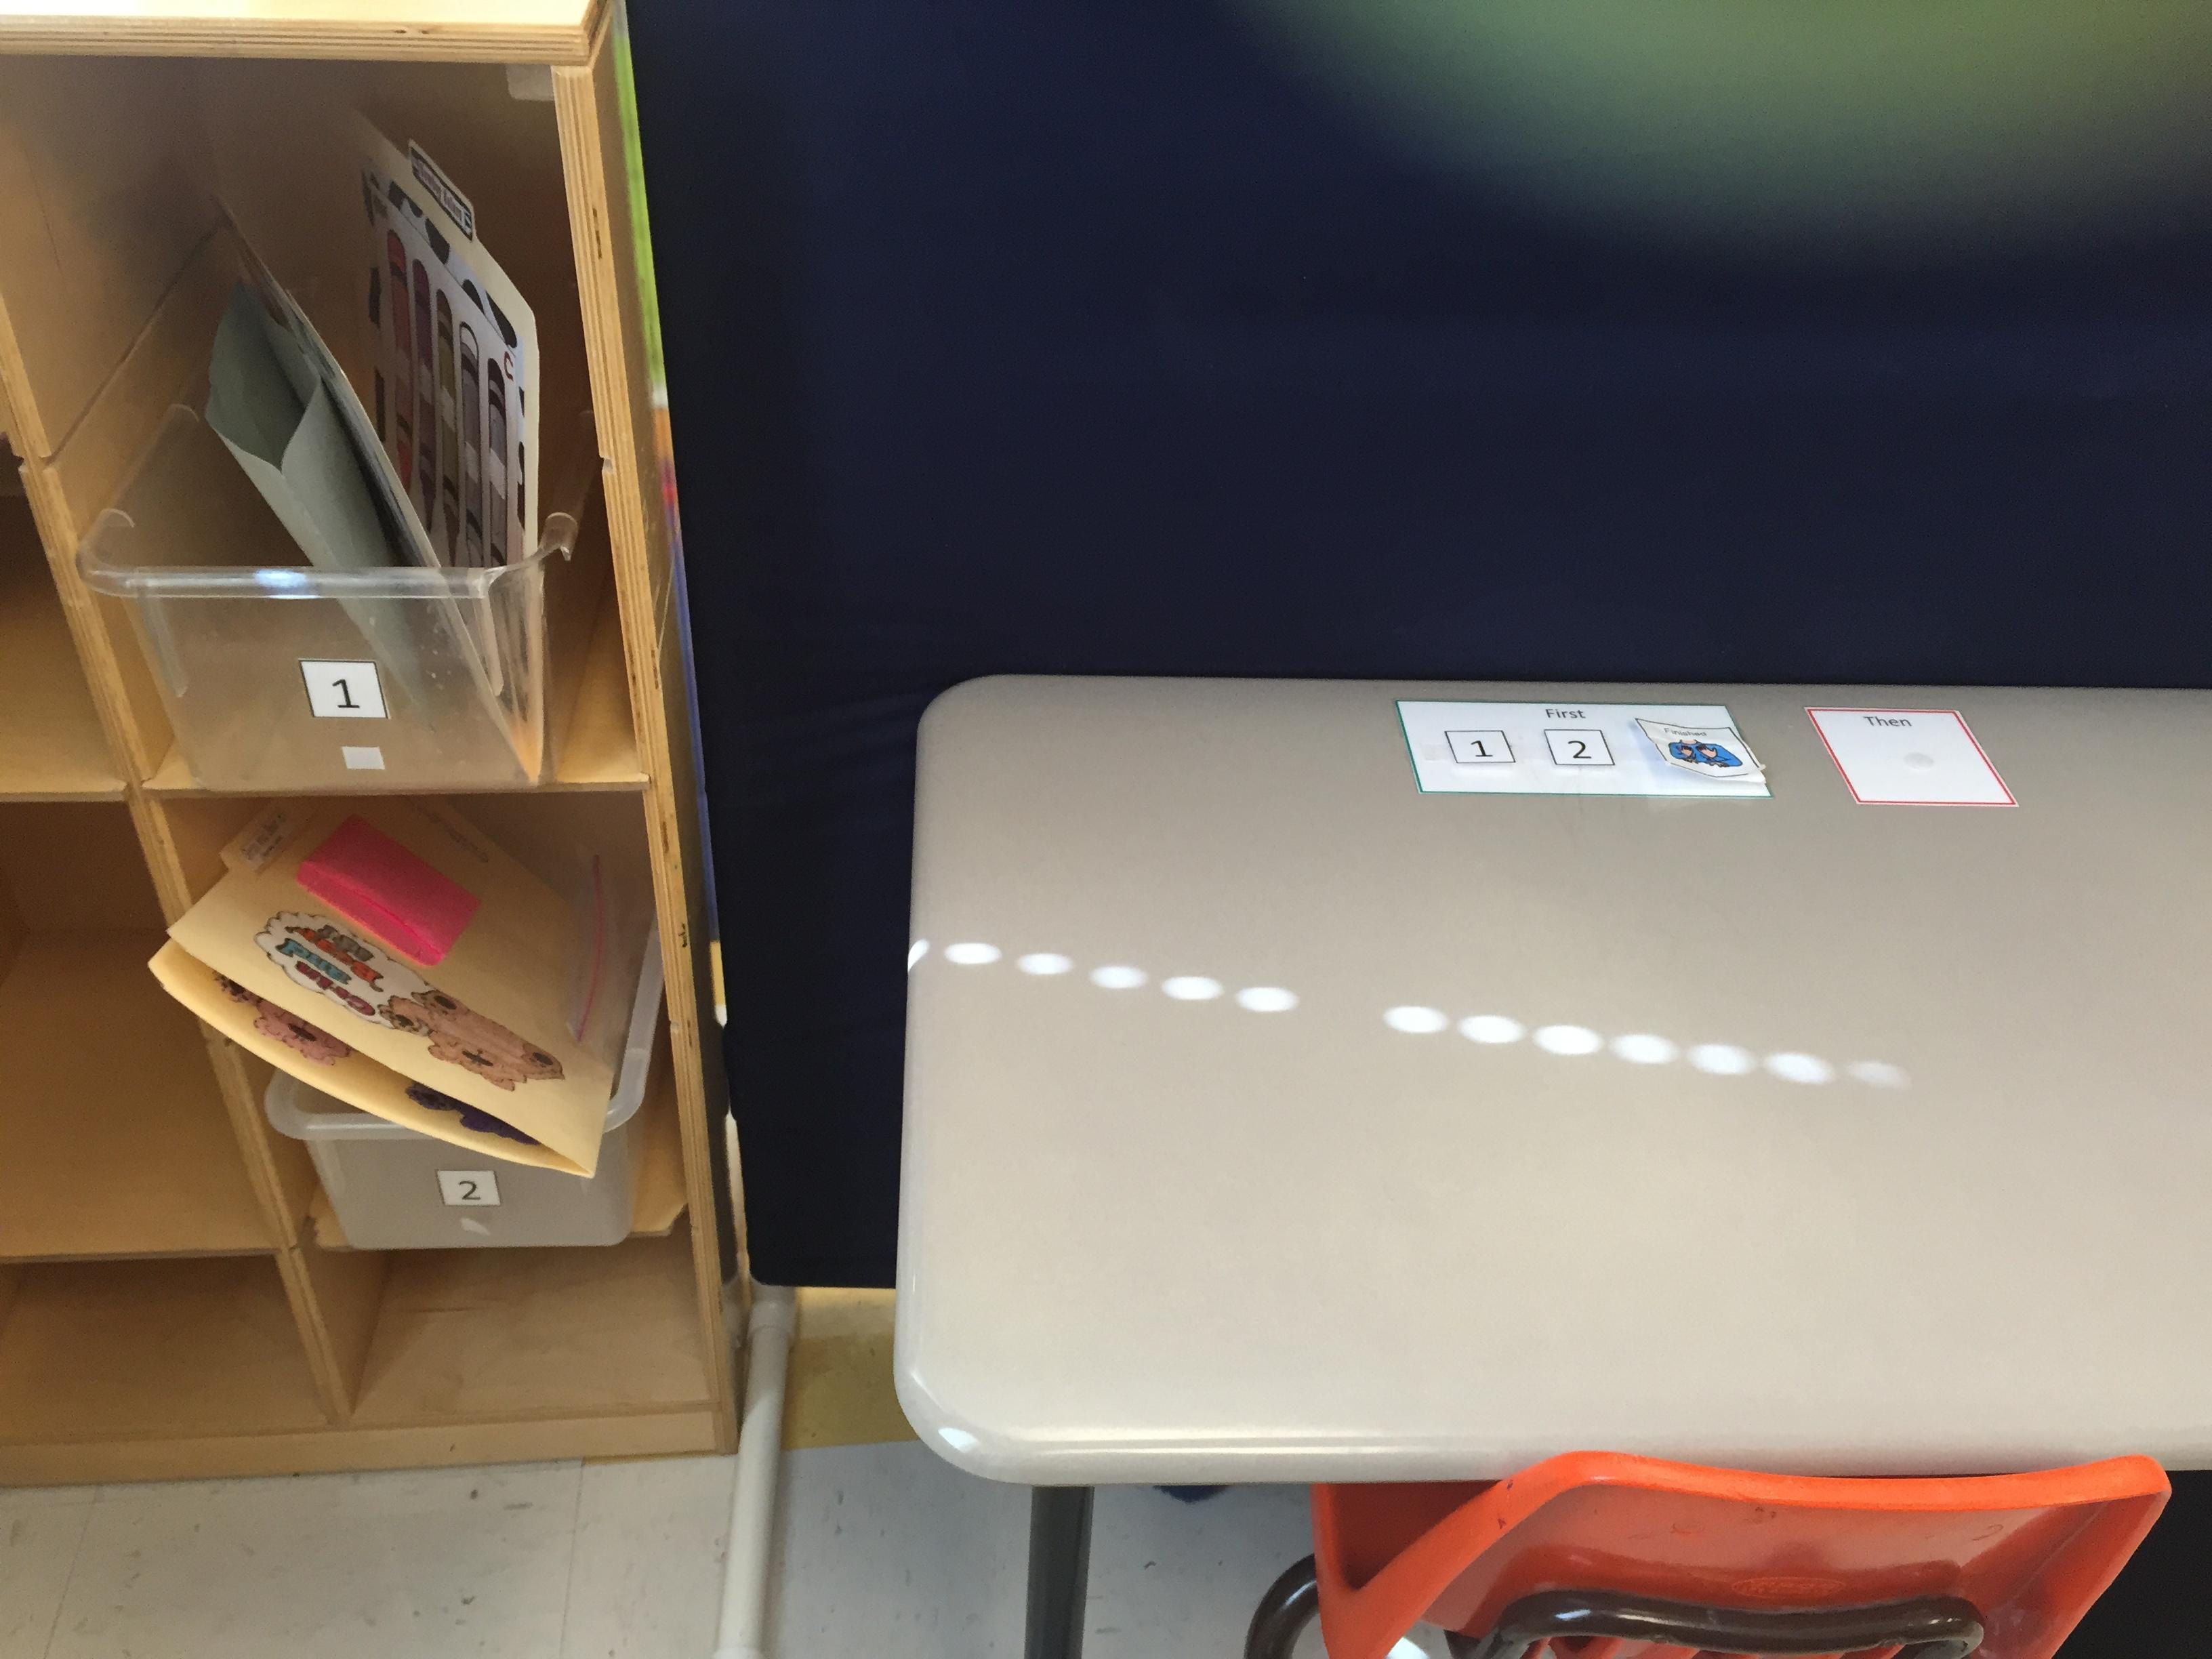
Work bins at desk
Work System 2
Work System 2
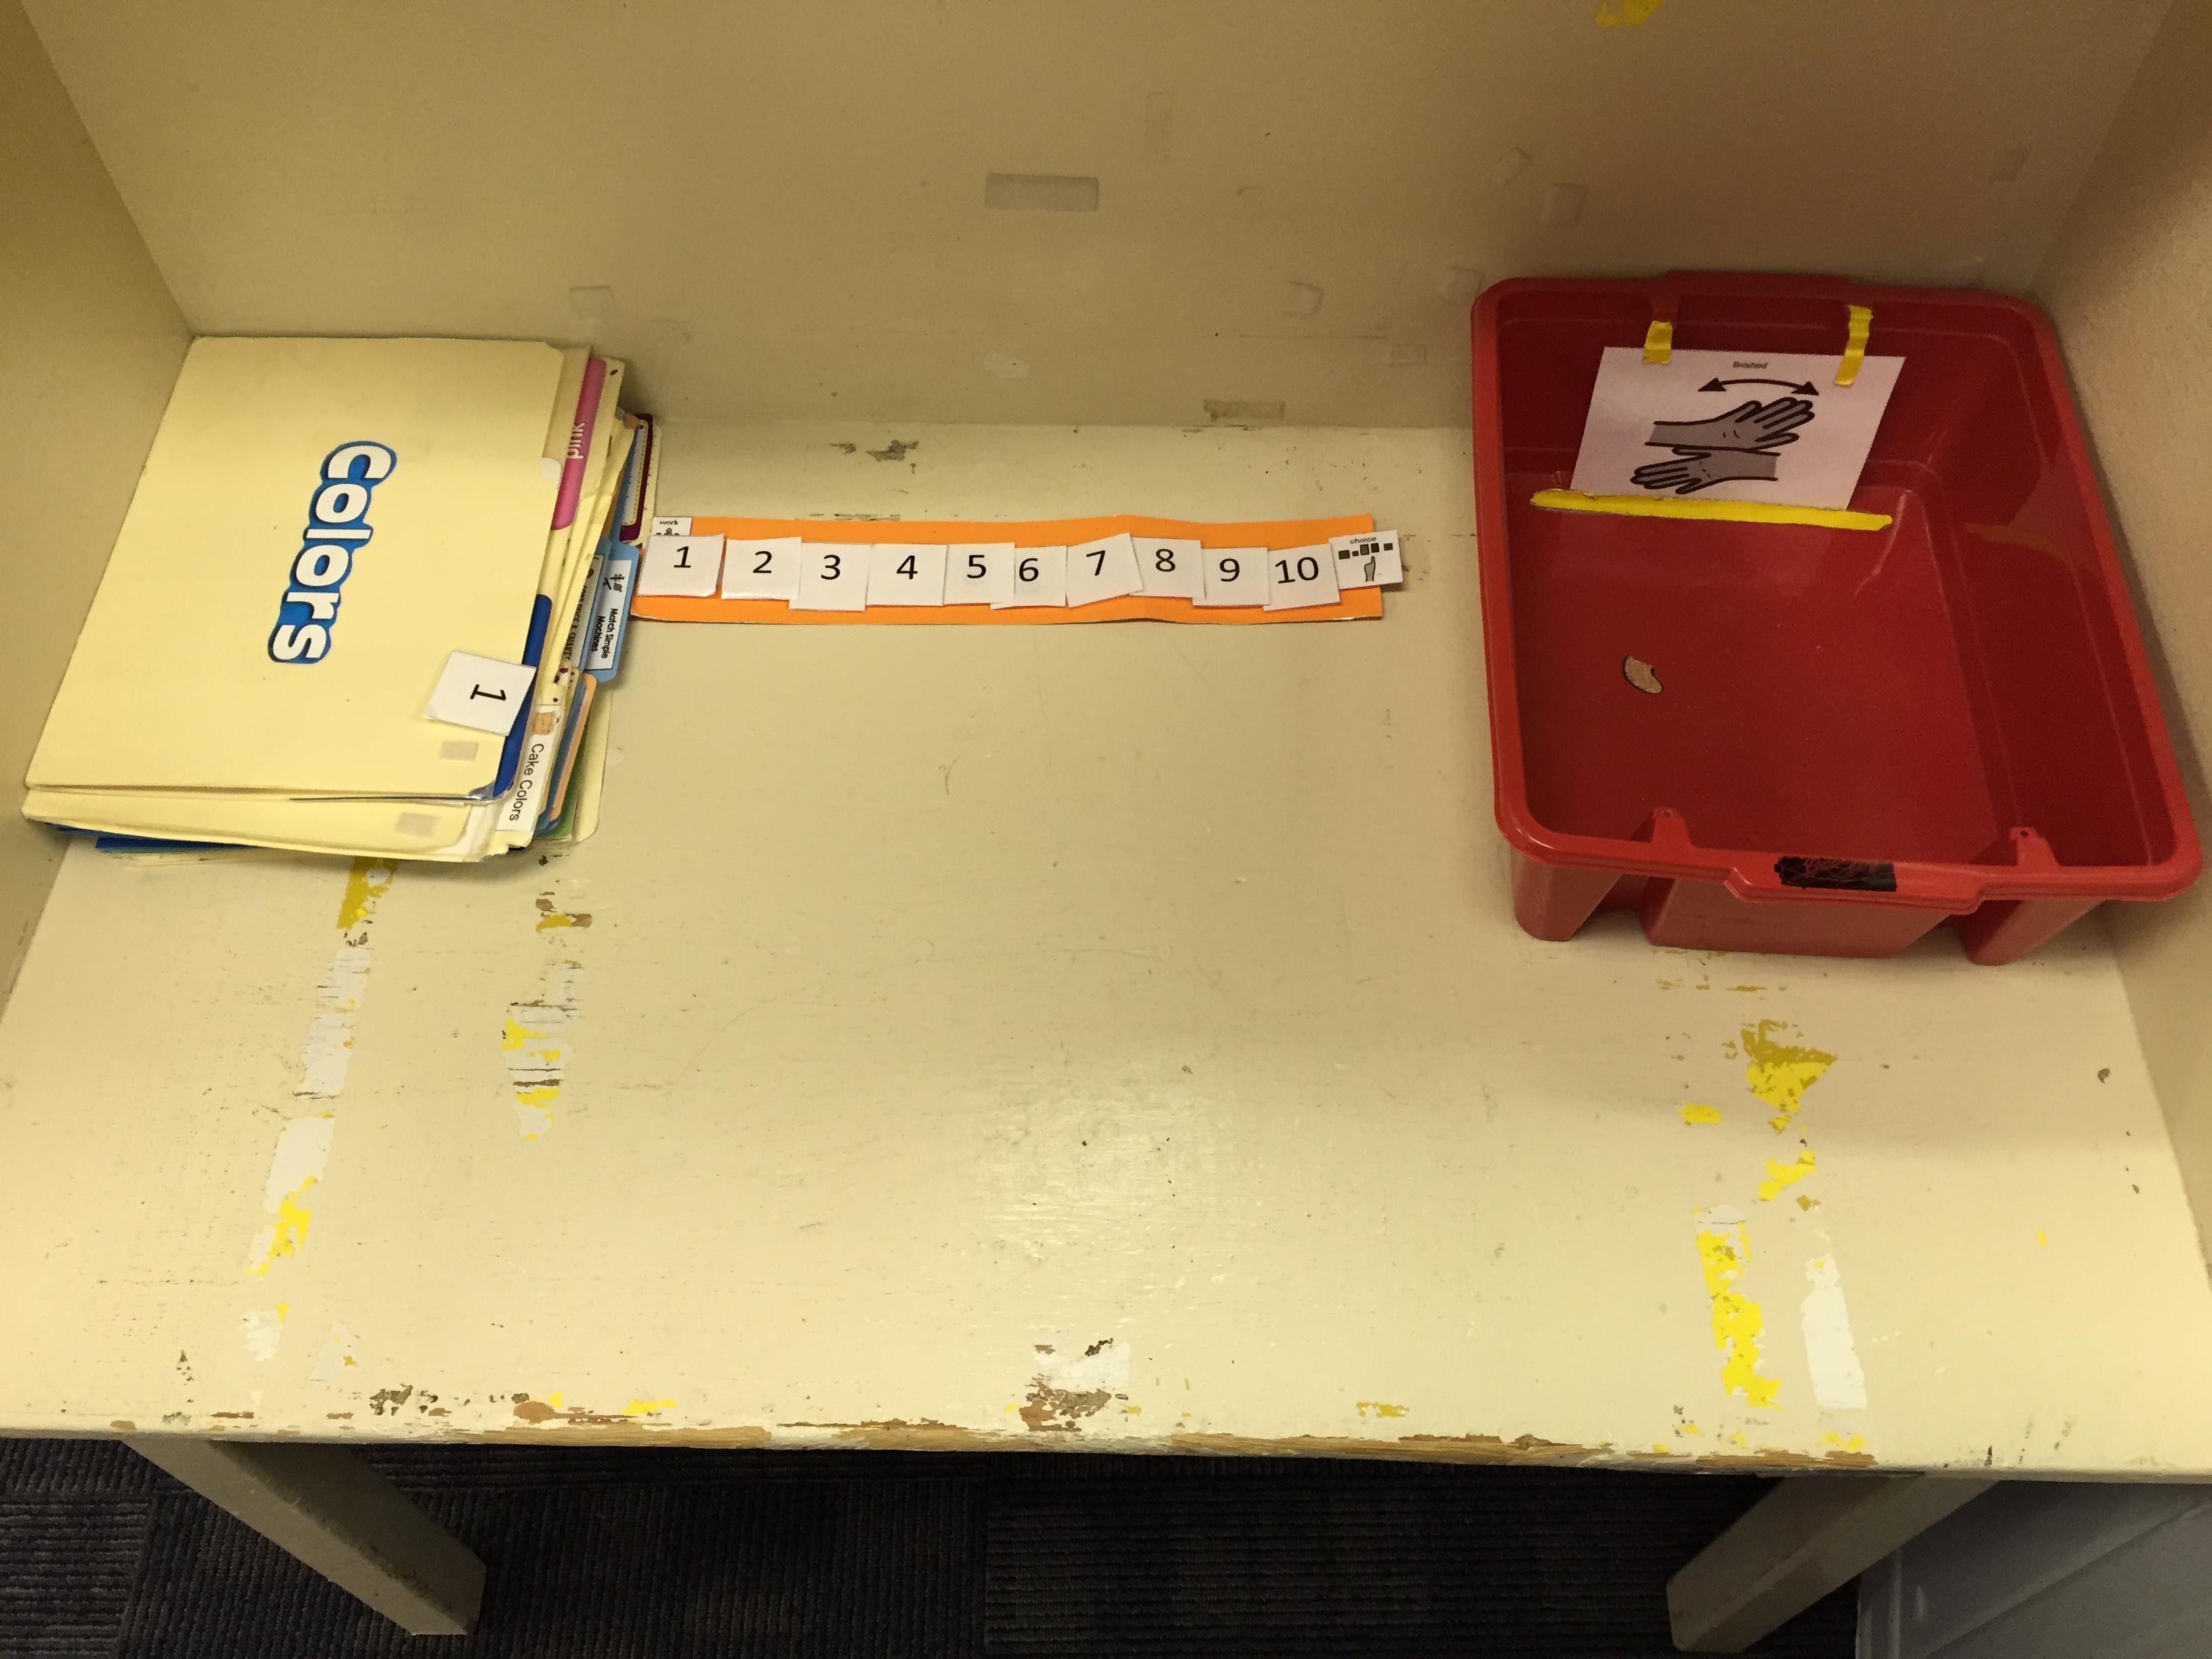
Independent file folder work
Work System 3
Work System 3
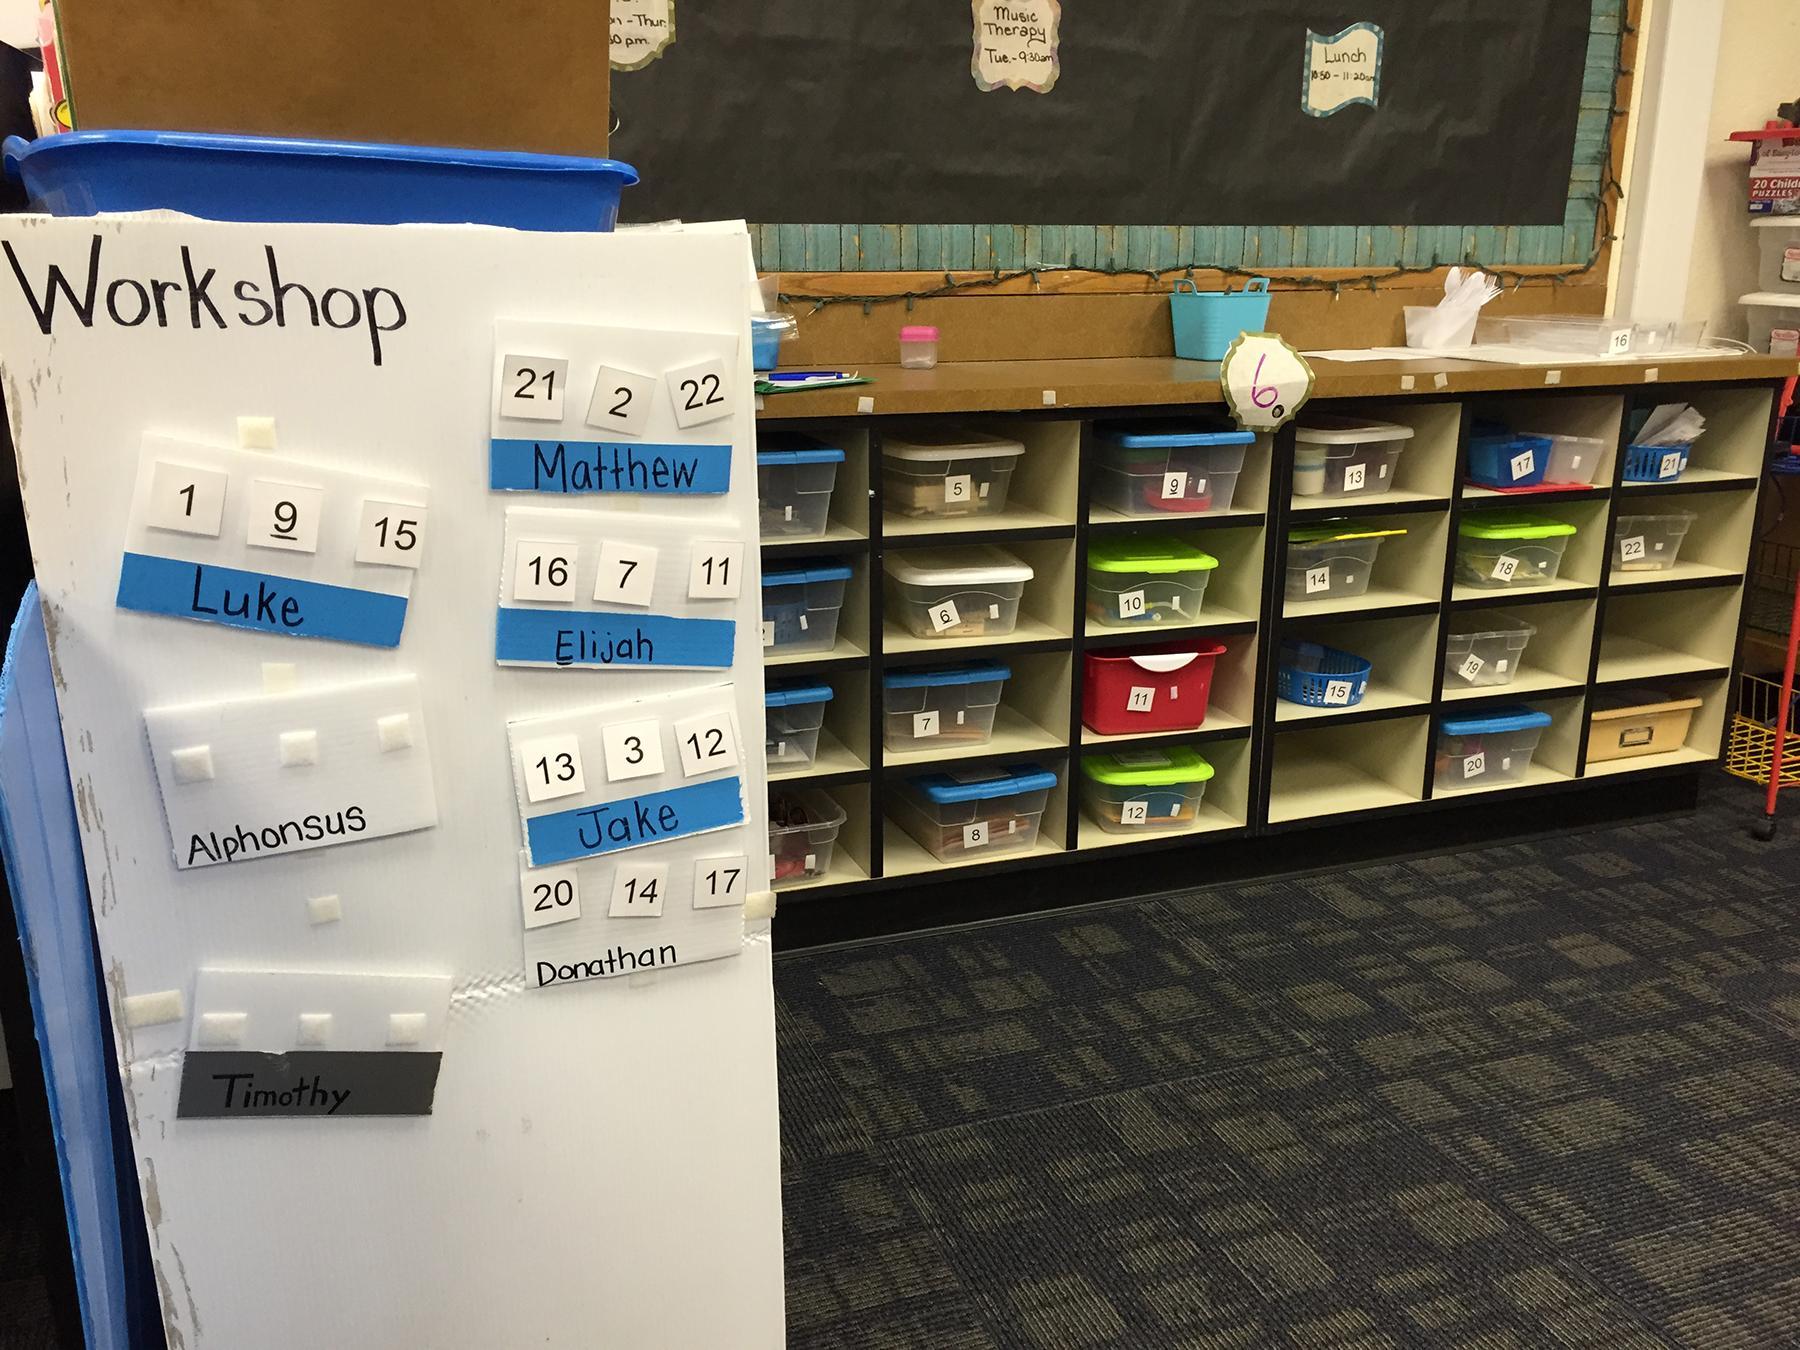
Work bins in a central location
When to use:
- When a student has mastered a skill during direct instruction, and needs continued practice to maintain the skill.
- To give visual and environmental structure to academic, functional, vocational, and daily living skills tasks.
- To help students learn to complete activities without waiting on prompting.
- To teach a student to complete tasks that will be used in other settings, such as the general education classroom, a job site, a store, or the home.
- To keep all students meaningfully engaged in activities while staff work with individuals or smaller groups.
How to use:
- Identify the location for the structured work system and gather necessary items for the area such as: desk, chair, area for the tasks, finished box, mini-schedule.
- Identify independent work for the student and set up the work prior to the student’s arrival.
- The mini-schedule should answer the questions:
- How much work do I do?
- What work do I do?
- When am I finished?
- What comes next?
- Set up the type of work system for your area. The most common is a left to right system, but you can also use top to bottom, binders, or for more independent students, a central location for the tasks where the student goes and gets their predetermined tasks.
- Teach the student how to use the system through modeling. Depending on the skill level of your student, it may be necessary to begin with one task and build.
- Place a mini schedule in the workstation with icons that match the icon on each task (folder, drawer, or bin), in order from left to right or top to bottom.
- For each task, the student removes the leftmost icon, or top icon, from the mini schedule, matches it with the icon on the task, then performs the task.
- When the student is finished with each task, they put it away and move on to the next task. Tasks can be placed in a finished box, or returned to where they were stored if in a central location.
- The final icon on the mini schedule should tell the student what comes after they have finished all tasks, typically reinforcement/desired activity.
Tips:
- When prompting, use non-verbal cues, as this is an independent work area and verbal cues can be the hardest cues to fade, leading to prompt dependence.
- Do not take apart or “reset” work where the student can see: this shows a student that the work they have done is meaningless.
- The tasks and activities worked on at an independent workstation should be meaningful to a student’s Individual Education Plan and overall functioning.
- Independent workstations should not be used to introduce new skills, tasks, or activities.
- Rotate activities regularly to keep student’s interest and prevent potential behavior.
- See our Toolkit for visual schedule examples and templates.
Variations:
- Also referred to as Independent Work System or Independent Work Station.
- Once a student learns how to use a structured work system in a special education setting, the work system (or elements of the work system) can be used in general education settings, job sites and other community settings, and in the home.